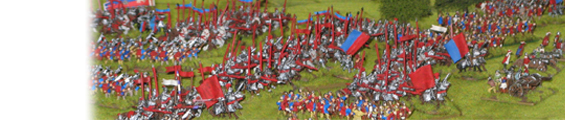
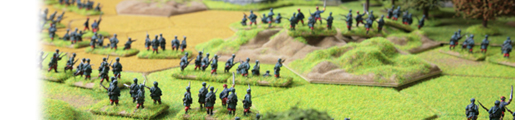
|
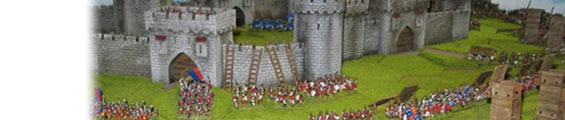
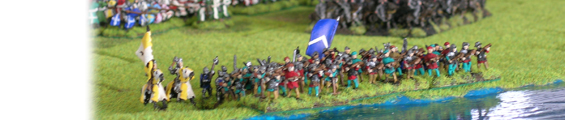
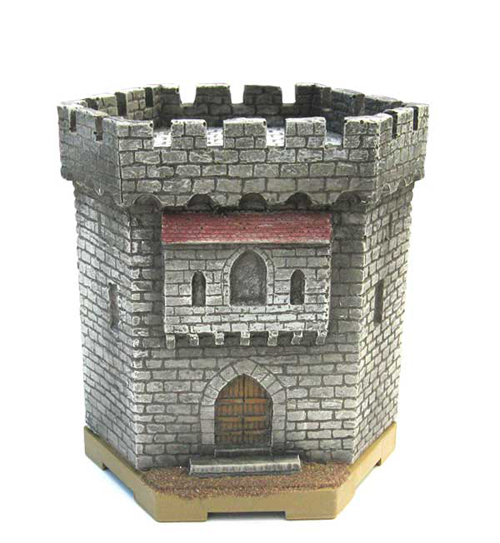
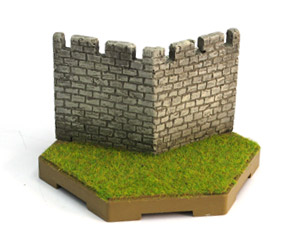
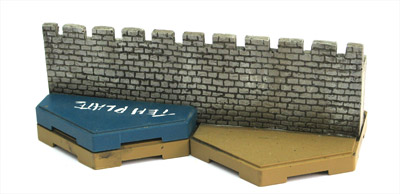
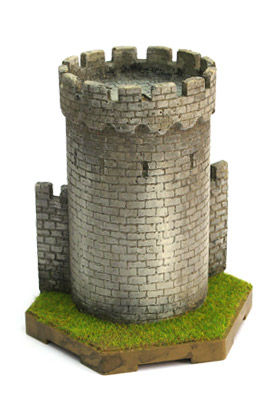
Relatively tall wall sections can be unstable, especially when loaded with miniatures, but by securing them individually to single Hexon pieces, they become both stable and integrated into the terrain. Each piece can be used as module to construct a whole variety of different castle configurations using the same pieces interchanged with one another. Slope pieces and/or single hexon tile can then be used to ‘blend’ the castle into the rest of the hexon terrain.
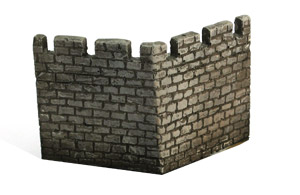
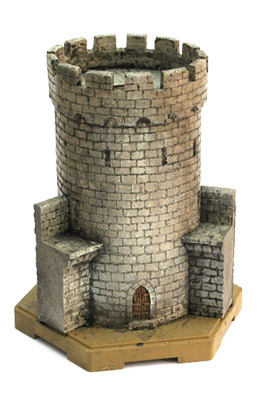
Because all the resin pieces are designed to fit onto hexon terrain hexes which are all 100mm from side to side, they are all made either 50, 100 or 200mm wide. Corner pieces and round towers can be made to line up with the angles of a hexagon.
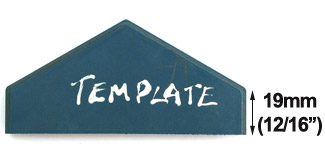
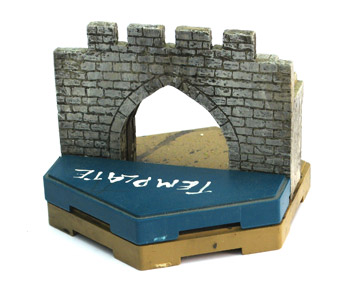
Below is a simple tool which can be used to line up wall sections onto single hexon tiles while they are being glued into position. It has been made by sawing through a single tile to the dimensions shown below.
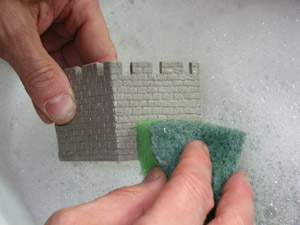
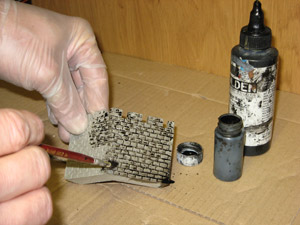
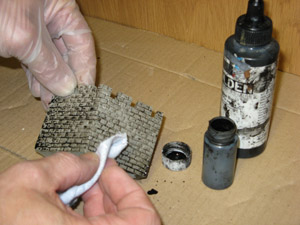
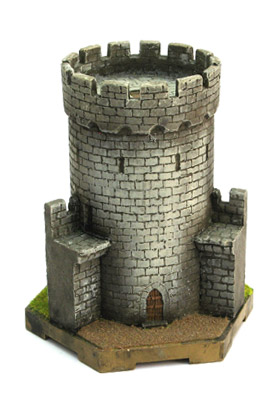
The wall or tower pieces can be painted before or after mounting onto the hexon. I usually ink and paint the models after they have been fixed into position on the tile. This enables me to fill any gaps with modeling putty between two resin pieces mounted on the same tile, such as a 50mm wall section with a 50mm small tower, before painting.
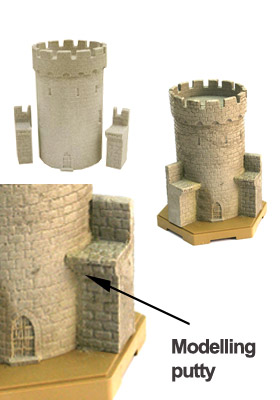 
Using the template when required, fix the resin fortifications into position using a few drops of superglue. In addition, you can use small screws underneath the tile and into the model base for added strength, but this isn’t really necessary.
The single hexon tile which has now become the model base can be flocked to match the rest of the terrain. Once dry excess flock can be brush or vacuumed away and the model(s) is ready for use.
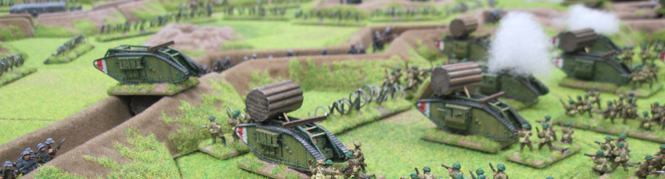
|