|
TERRAIN |
|
|
|
|
|
|
MINIATURES |
|
|
|
|
|
|
|
|
|
|
WARGAME ACCESSORIES |
|
|
|
HEX BASED RULES |
|
|
|
|
|
|
|
|
INFORMATION PAGES |
|
|
|
|
|
|
|
|
|

Hexon Slopes Preparation and Assembly
|
|
First things first...wash the Hexon slopes in warm soapy water, to remove any release agents that may be present from the manufacturing process. Ensure the surface is clean and dry before proceeding to the next stage. |
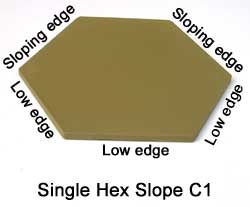
The slope hexes can be identified by;
A1 - has 1 low edge, 2 triangulated sides and 3 full sides.
B1 - has 2 low edges, 2 triangulated sides and 2 full sides.
C1 - has 3 low edges, 2 triangulated sides and 1 full sides. |
|
Assembly
The single slope hexes can be placed individually on the terrain boards to create various terrain configurations. Optional clips are provided. You can glue individual slope hexes together to make frequently used configurations, making the assembly of terrain features even quicker.
|
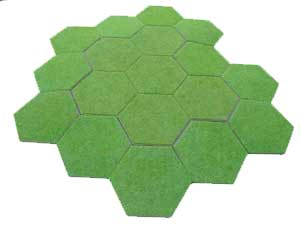
|
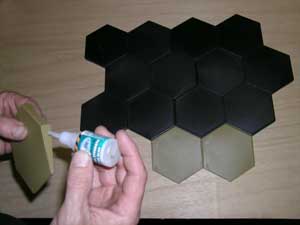
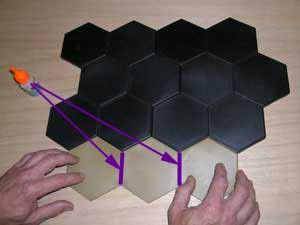
In the photos below, a sloping edge to one side of two Hexon Terrain boards is being created using C1, B1, C1 single slope hexes.
|
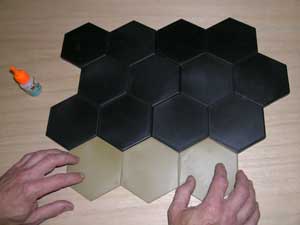 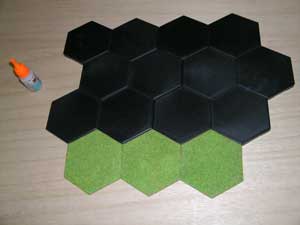
|
Make sure the surface you are working on is level and flat. After selecting the required slope configuration, for a more permanently feature the individual slope hexes can be affixed into position. Here we have used two Hexon Boards, clipped together to help position the Slope Hexes. Apply a small amount of medium viscosity superglue adhesive on the side of the single hex slope to be positioned. Hold firmly in place while the adhesive sets.
|
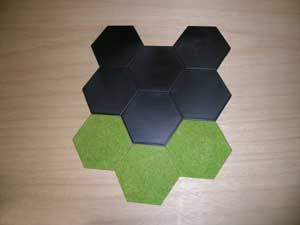 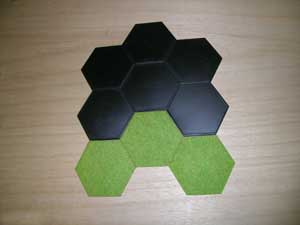
|