|
TERRAIN |
|
|
|
|
|
|
MINIATURES |
|
|
|
|
|
|
|
|
|
|
|
|
WARGAME ACCESSORIES |
|
|
HEX BASED RULES |
|
|
|
|
|
|
|
|
INFORMATION PAGES |
|
|
|
|
|
|
|
|
|
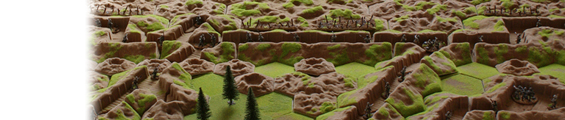
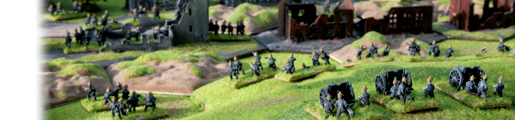
 Modelling Terrain Features - Rivers Modelling Terrain Features - Rivers
|
|
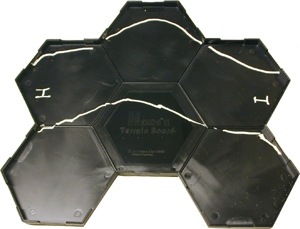
Marking the River Base
Mark the underside of a Hexon board with a marker pen, the required river channel.
Where the river enters and leaves the board, H and I in the photo, the edges can be filed down if required.
|
|
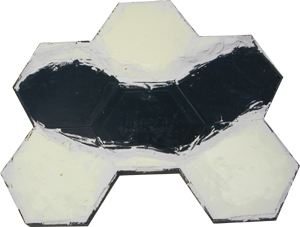
Shaping the river
Using a modelling knife etc. carve the shape of the river banks from styrofoam or expanded polystyrene. PVA glue can be used to stick the shaped foam pieces onto the base board.
|

|
When the glue has dried, the riverbank contours can be refined, and unwanted gaps filled with interior filler.
Once the filler has dried it can be sanded smooth if required and the land area can be coated with a layer of PVA glue and fine sand to give a textured surface ready for painting.
|
|
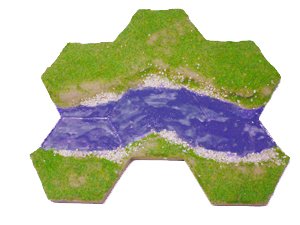
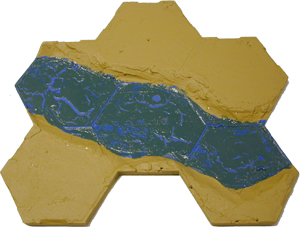
Painting
The land areas of the board below, have been painted using a brown household emulsion paint, readily available from DIY stores (Dulux vinyl matt emulsion, colour:30YY23246, Salisbury Stone). The water area has been painted using a blue then peppermint household emulsion paint, which can be built up in layers to obtain the desired effect.
|
|
Flocking the river board
Once the paint has dried, various flocks and gravels can be added to selected areas using PVA glue. The example below has been flocked using the green Noch 50210 static grass and a sprinkling of terrain gravel at the waters edge.
|
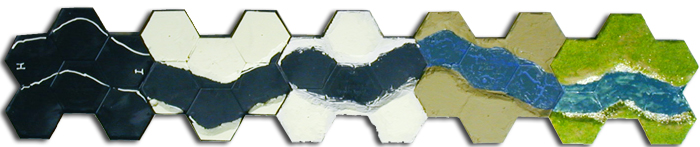
The complete sequence; mark, foam, fill, paint and flock!
Back to How to... guides
|