The idea of pitting 2 identical War of The Roses armies against each other is something that we have undertaken periodically in club games. I suppose it is the ultimate test of generalship in which the use of terrain features can often become the key element to deciding the outcome.
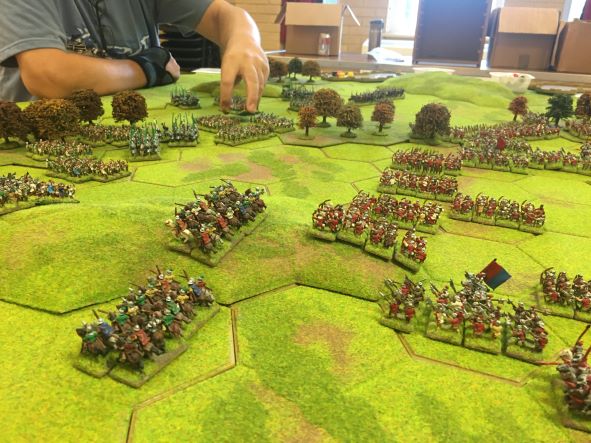
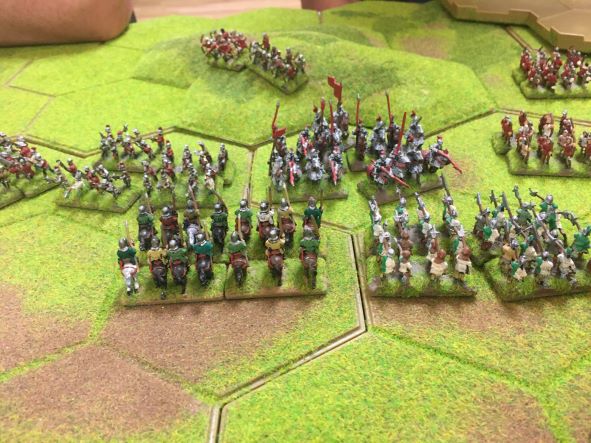
The army composition was; 9 retinue longbow, 6 retinue bill, 6 mounted men-at-arms, 2 units of hobilars and 4 generals. Each army had 3 sets of stakes which could be allocated to 3 of the 9 units of longbow in each army. Tim and James took command of the Yorkists (red), and Tony and I the Tudors (green and white).
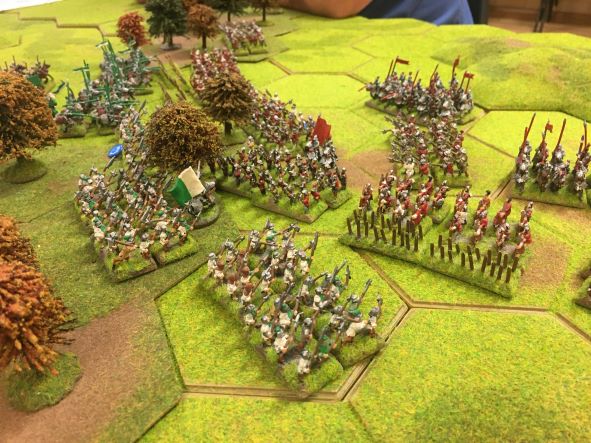
The dice roll for choice of table edge and first move went to James and Tim and they used their first move to establish a strong defensive position between a central woodland and another area of woodland back towards the Yorkist table edge. Two sets of stakes were planted by longbow between these in the 2 open hexes. Tony and I had little option but to organise a game plan for our Tudors to break open this defensive position. The biggest problem that we faced was that any units breaking through would be at the mercy of the six units of Yorkist mounted men-at-arms waiting behind.

- IMG_1753s.JPG (73.31 KiB) Viewed 2927 times
- IMG_1756s.JPG (70.05 KiB) Viewed 2927 times
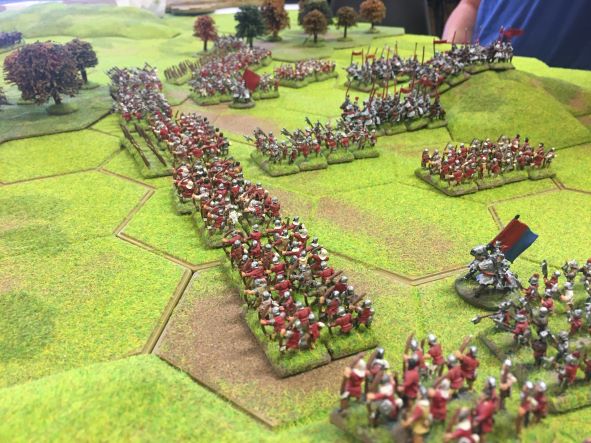
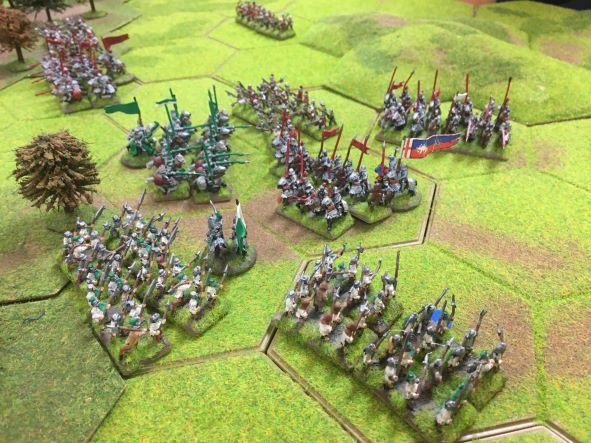
I moved my wing of the Tudor army to face Tim’s units on the far right of the board. This was a deliberate attempt to shift Yorkist forces towards my forces, hopefully weaken the opposite Yorkist wing and open the way for Tony’s attack towards the central woodland. Tony charged his cavalry into the gap between the woods and simultaneously advanced his bill units into the central woodland.
- IMG_1758s.JPG (51.79 KiB) Viewed 2927 times
- IMG_1759s.JPG (73.19 KiB) Viewed 2927 times
In response to this attack, Tim held his nerve and in the next tactical move he did not shift his cavalry across to support James’s forces. This left me with the very difficult decision as to when to launch my attack which was currently blocked by 2 units of Yorkist hobilars that had been disrupted by my own longbow units. Instead of risking all in an all out attack I decided to push my longbow line forward and engage Tim in a shooting match. Tim's longbows found their mark and mine didn’t, which resulted in more units blocking my line of attack with my mounted me-at-arms and bill units.
- IMG_1763s.JPG (81.39 KiB) Viewed 2927 times
- IMG_1765s.JPG (79.07 KiB) Viewed 2927 times
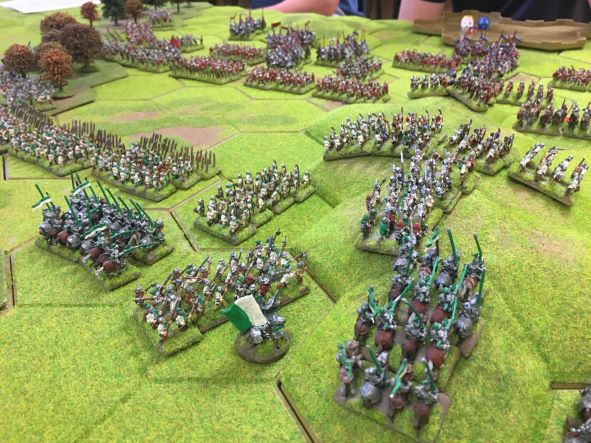
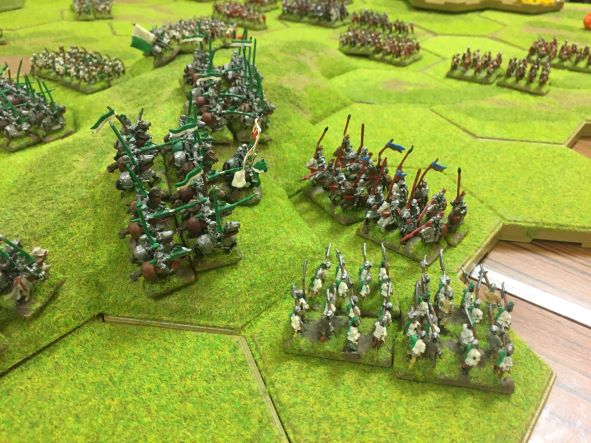
Tony’s cavalry charge broke through the stakes sending the Yorkist longbow units fleeing. Unfortunately, however, the simultaneous attack by his bill units in the adjacent woodland was repulsed by James’s infantry. This left the victorious Tudor cavalry very exposed to a Yorkist counter-attack in the following tactical movement phase. At the same time I still wasn’t able to launch my attack on the right and have any chance of success because of the position of Tim’s mounted men-at-arms in his second line. Instead Tim and I watched as Tony and James ‘slogged it out’ on the other half of the table.
- IMG_1767s.JPG (75.83 KiB) Viewed 2927 times
- IMG_1772s.JPG (71.09 KiB) Viewed 2927 times
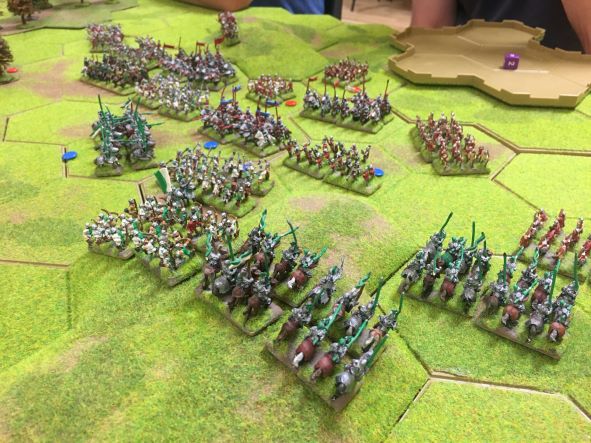
By this stage of the game I already had ‘brain ache’ from trying to work out the various ramifications of my planned cavalry attack 2 and 3 moves ahead. At last Tim moved some of his heavy cavalry units across to support James. These reinforcements resulted in a punishing round of hand-to-hand combat for Tony’s now out-numbered Tudors which lost a general and 2 units of mounted men-at-arms. But, at last, I was able to throw caution to the wind and throw all my heavy cavalry and bill units into the much awaited assault. This attack was supported by my already depleted longbow units which finally decided to shoot straight!
- IMG_1774s.JPG (75.19 KiB) Viewed 2927 times
The next 2 rounds of shooting and hand-to-hand combat were punishing for both sides as units disappeared off the table like shit through a goose! The resulting loss of 3 generals for the Yorkists and 2 for our Tudors gave our ‘green and whites’ a chance to win the game by targeting the Yorkists last remaining general. The problem was that both the Tudor generals were locked in hand-to-hand combat and as such could not move to bring a good number of Tony’s units back into command and control range and subsequently back into battle.
- IMG_1775s.JPG (72.31 KiB) Viewed 2927 times
It was my longbow units that despite their earlier dismal performance saved the day. They succeeded in recoiling a Yorkist heavy cavalry unit back freeing up one of my 2 remaining generals. The mission to bring the more errant of Tony’s unit back on line was now possible. However, a rather fortuitous set of combat results for our Tudors left what remained of the Yorkists out-flanked. And with few further options available to continue the fight James and Tim conceded the game.
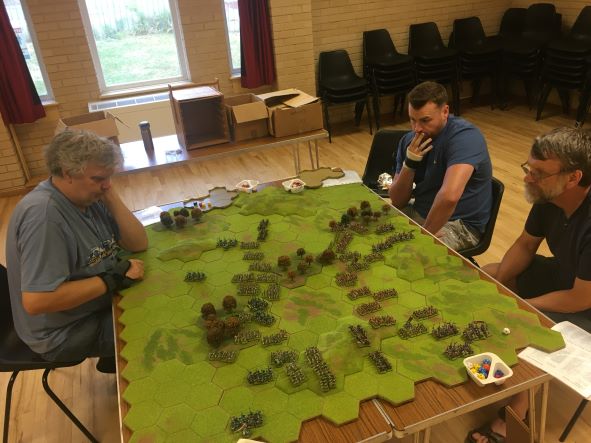
Game Analysis
With 2 identical opposing armies this was always destined to be a close game. The pendulum did swing in both directions throughout and both armies were reduced to barely a third of their original strength by the end. The only real differences at the close of play was that the Tudor’s had 2 generals remaining to the Yorkist one and had a much better tactical position ready to roll up the Yorkist right flank. Very much a knife edge game throughout!